How to Use Time-Outs Effectively for Bite Inhibition Training
Time-outs are great for teaching puppies to not bite so hard. Here’s how to do it:
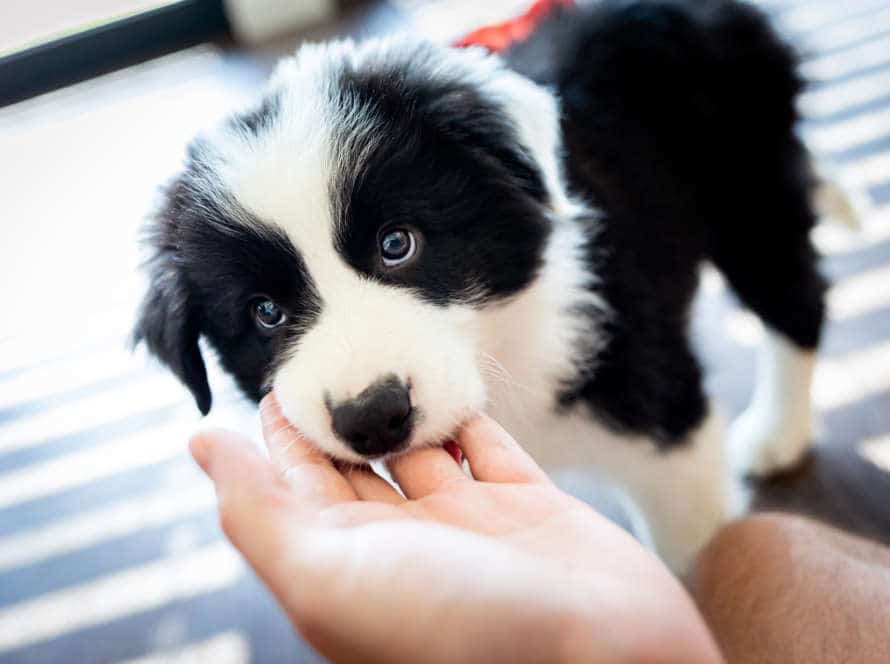
- Yelp loudly if your pup bites too hard during playtime. This is what puppies do when they’re together in a litter.
- Stop playing and calmly walk away from them. This is the time-out.
- Stay away for a few minutes. This will help them learn that biting hard ends playtime.
- Start playing again if they behave and remember not to bite so hard. Time-out again if they don’t.
- Never hit or hurt your pup. Time-outs are more effective and kind.
Understanding Bite Inhibition
Bite inhibition is key for young puppers. It helps stop aggressive behavior and hurting others. It’s vital to teach pups to manage the pressure of their jaws when playing or meeting new people and animals. Knowing the basics of bite inhibition can help you learn how to use time-outs correctly for training.
Why it’s important to teach bite inhibition to your puppy/dog
Bite inhibition is an essential skill for all dogs! It teaches them to control how hard they bite, and to be more gentle when mouthing or playing. It’s important to teach this to your pup or dog, as it prevents injuries to others, pets, and even you.
Here are some reasons why bite inhibition is so important:
- Prevents serious injuries to people and other animals.
- Helps you build a trusting relationship with your dog.
- Prevents situations where your dog may have to be given up or euthanized due to aggressive behavior.
Time-outs are a great way to train for bite inhibition. If your dog bites too hard, stop engaging with them and put them in a time-out for a few moments. With consistent practice, your pup will learn that biting too hard means the end of playtime. Eventually, they’ll develop better control over their bite strength!
Teaching bite inhibition ensures a safe, happy life for your pup and those around them.
How dogs learn bite inhibition
Bite inhibition is a skill dogs have to control how strong they bite. This is key to avoiding injuries. Puppies learn this from their mother and littermates. But, it’s up to the owner to make sure it sticks.
Time-outs are a great way to reinforce bite inhibition. Here’s what to do if your pup bites too hard:
- Say “ouch” loudly and in a high-pitched voice.
- Turn away and don’t look at or talk to your pup for 10-20 seconds.
- After that, resume play or interaction.
Using time-outs and positive reinforcement together works really well for teaching your pup to control their bite and be a good companion.
Signs that your dog needs bite inhibition training
Bite inhibition training is essential for puppies. It helps them learn to control the force of their bite and reduces the risk of them becoming aggressive in the future. Here are signs your pup needs this training:
- Biting too much during play
- Nipping at hands, feet or clothing
- Growling or snarling when someone wants a toy
- Snapping when touched or petted
To use time-outs for this training, follow these steps:
- Say “ouch” in a high-pitched voice when the pup bites.
- Remove attention and walk away for 30 seconds, through a door or baby gate.
- Return to playing and repeat as needed.
Consistency is important. With patience, your puppy will learn that biting is wrong.
Pro Tip: Start training early for best results.
What Are Time-Outs?
Time-Outs are a type of punishment that’s used in dog training. It teaches them to not bite and other good behaviors. Time-Outs consist of removing the dog from the area where they get rewards, and putting them in a quiet spot for a bit. To make them work best, it’s important to use them correctly. Let’s discuss how to use Time-Outs for bite inhibition training.
How Time-Outs Work in Bite Inhibition Training
Time-Outs are a great part of Bite Inhibition Training. It’s a type of dog training that helps puppies learn to use gentle mouth pressure and stop nipping or biting.
Time-Outs work by taking the pup away from the situation and discouraging them from nipping or biting. Here’s how to use them properly:
- When your puppy bites too hard during playtime, make an ‘Ow!’ sound.
- Remove everything they were playing with and stand up.
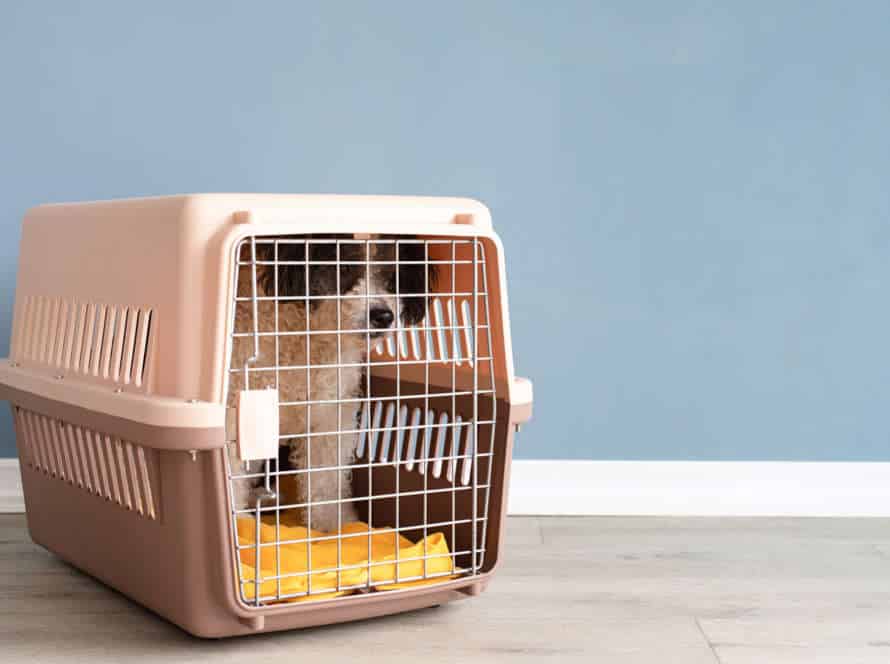
- Move to another part of the room they can’t reach or put them in a quiet crate.
- Leave them alone until they calm down.
- Then go back and resume playtime.
Do this repeatedly until they learn to use gentle mouth pressure instead.
Pro Tip: Be patient and consistent during Bite Inhibition Training. It will take time, effort and consistency, but it’ll build a healthy, happy bond with your pup.
When to Use Time-Outs
Time-outs are a great way to teach puppies bite inhibition. However, you need to use them correctly!
When your pup bites too hard, say “ouch!” in a high-pitched tone. Move away and don’t give attention for 10-20 seconds. Return after a few seconds and resume playtime. Do this every time your pup bites too hard. They’ll learn that biting too hard or ignoring training cues will lead to time-outs.
Time-outs should be short, just to set boundaries. Consistency is key – everyone in the household should use them the same way.
Common Mistakes to Avoid When Using Time-Outs
Time-outs are a great way to teach dogs bite inhibition, calm behaviors, and obedience. But, pet owners can make lots of mistakes when using them. Here are four to dodge:
- Mistake 1: Too long or too short time-outs.
- Mistake 2: Not removing the target object or yourself during the time-out.
- Mistake 3: Inconsistent time-outs.
- Mistake 4: Reinforcing bad behavior during or after the time-out.
To use time-outs effectively, keep them brief, consistent, and use them only when necessary. Also, remove the target object or yourself during the time-out. Lastly, avoid reinforcing negative behavior that could trigger your dog’s biting tendencies during or right after the time-out.
How to Implement Time-Outs
Time-Outs are great for teaching bite inhibition to your pooch! They provide a way to show that the dog’s behavior is wrong, without making it worse. Let’s learn how to do them right and use them for bite inhibition training.
Step-by-Step Guide to Using Time-Outs for Bite Inhibition Training
Time-outs are an effective tool for teaching puppies not to bite. Here’s a guide on how to use them:
- When puppy bites, make a loud noise or say “ouch”.
- Stop playing and stand up.
- Don’t make eye contact for 20-30 seconds.
- After the time-out, resume play and interaction.
- If puppy continues to bite, repeat the process.
It’s important to be consistent and patient. With repetition, pup will learn biting is not ok. Pro Tip: Give pup chew toys and activities to keep them from seeking attention by biting.
How Long Should Time-Outs Last?
Time-outs are a great way to train puppies not to bite. The time-out should usually last between 15-30 seconds. Put the pup in a boring place, away from distractions. Not in the crate or a dark spot, or it might make them scared. Every puppy is different – some may need longer or shorter time-outs. Consistently reward good behavior and give positive feedback. With patience, time-outs can be a great tool for teaching puppies to not bite.
When to End Time-Outs and Resume Play
Knowing when to end timeouts and when to play again is important for successful bite inhibition training for dogs. Here are the steps:
- When your pup bites, say a cue word, like “ouch” or “no” and then stop playing and walk away. Put your dog in a timeout spot (e.g. crate or playpen).
- Give your dog a timeout for 10-30 seconds, according to their age and attention span.
- After the timeout, go back to the play area and start again.
- If they bite again, use the same cue word and repeat the time-out process.
- End the training session when your dog looks tired or disinterested. Puppies have shorter attention spans and need breaks more often.
Pro tip: Consistency is essential. Do the same routine and use the same cue words each time your dog bites. Reward good behavior with treats and praise.
Supporting Techniques for Bite Inhibition Training
Bite inhibition training is crucial for a healthy puppy’s growth. Time-outs teach puppies the correct bite pressure. We’ll discuss how to use time-outs and other strategies to support this. Plus, we’ll look at other techniques that can help.
Positive Reinforcement Training
Positive reinforcement training is an excellent, humane way to teach dogs behaviors like bite inhibition. Time-outs can help too, if used correctly. Here are some tips:
- Be consistent. Use the same command for time-out.
- Time the time-out. As soon as the dog bites, take away attention and interaction for a few minutes.
- Monitor behavior. Look out for signs of aggression or overstimulation, and act before a bite happens.
- Reinforce good behavior. Praise and reward your dog for appropriate play.
Consistent use of time-outs can help your dog learn to control their biting and play nicely.
Redirecting Your Dog’s Chewing and Biting
Redirecting your pup’s chewing and biting is key in bite inhibition training – a must for all pet parents! Time-outs can be a great way to re-direct the pup’s attention whilst training. Here are some techniques to help:
- Replace your hand/arm with a chew toy
- Use treats/praise to encourage chewing on the right items
- Use deterrent sprays for unacceptable biting
When using time-outs, pick a dull spot where pup won’t be stimulated, don’t use crate as punishment and always be consistent with it when pup shows signs of aggression. These techniques will teach pup valuable skills for living peacefully with humans, other dogs and pets. Pro tip: Positive reinforcement is the best way to train – reward good behaviour with praise, treats and playtime!
Consistency and Patience in Bite Inhibition Training
Consistency and patience are essential for successful bite inhibition training in puppies. Bite inhibition is a process that teaches puppies to control the force of their bites when playing or interacting with people or other animals.
One technique to help with this training is the effective use of time-outs. Here’s how:
- When your puppy bites too hard, just say “no” and remove your hand/foot. Don’t push, hit or shout at them, as this can frighten or agitate them.
- Put your pup in a designated time-out area, like a crate, playpen or quiet room for 30-60 seconds.
- Then, release them and resume play.
Do this whenever needed, consistently using time-outs to discourage hard biting and promote gentle play. Keep in mind that this training takes time and patience. Reward good behaviour with praise and treats!
Frequently Asked Questions
Q: When should I use a time-out during bite inhibition training?
A: Use a time-out when your puppy bites too hard and ignores your correction cues.
Q: How long should a time-out be?
A: A time-out should be short, about 30 seconds to a minute.
Q: Where should I put my puppy during a time-out?
A: Use a safe and boring location, such as a small room or a crate. Avoid putting your puppy in a location where they can see or hear the rest of the family.
Q: Will using time-outs harm my puppy?
A: When used appropriately and calmly, time-outs are a safe and effective tool for bite inhibition training.
Q: Should I use time-outs for other bad behavior?
A: Time-outs should be used exclusively for bite inhibition training. Use other methods of training and correction for other behaviors.
Q: Can I use time-outs for adult dogs?
A: Yes, time-outs can be used for adult dogs if they need additional bite inhibition training.

