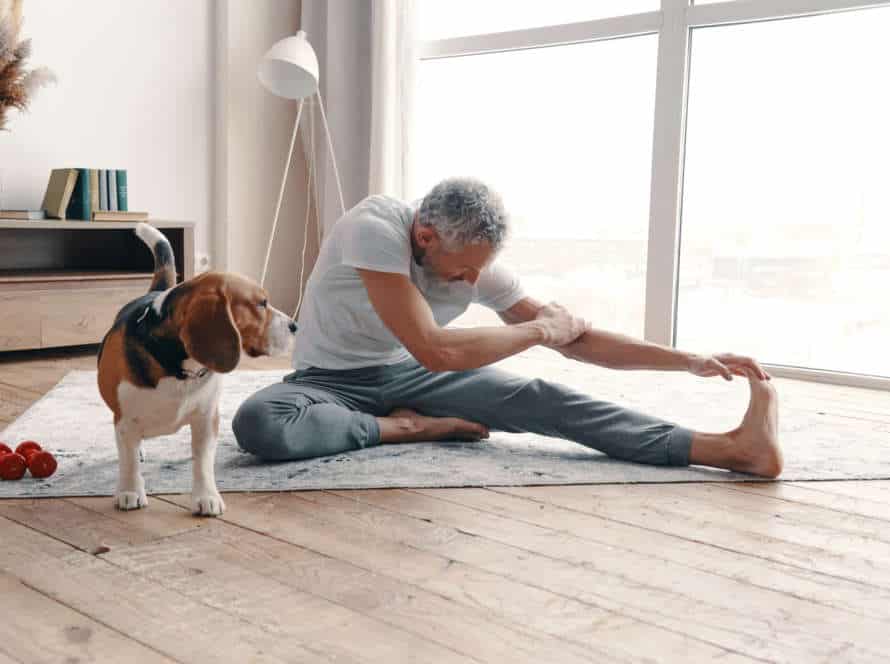
Mastering Dog Grooming Techniques: A Guide for Success
To keep your pooch healthy and looking their best, mastering dog grooming techniques is a must! Here are some basics every owner should know:
- Brushing: Regular brushing helps remove debris and tangles, prevents matting, and keeps their coat shiny.
- Bathing: Use lukewarm water and gentle shampoo. Start with their head and work down the body. Rinse properly to avoid skin irritation.
- Nail Clipping: Use sharp, clean clippers and avoid the quick. Trim bit by bit and give them breaks.
- Ear Cleaning: Use a gentle ear cleaner and cotton balls. Clean only the outer ear area. No deep insertion.
- Dental Care: Brush their teeth with a dog toothpaste and a soft-bristled brush. Avoid tartar buildup and oral diseases.
These techniques require patience, practice, and the right tools. If you’re new to this, it’s best to seek professional help.
Understanding the Basics of Dog Grooming
Dog grooming is key for keeping your furry friend healthy and looking their best. Knowing dog grooming basics can help you groom your pet correctly, so they look great always. In this guide, let’s explore the tips and techniques for mastering dog grooming for the best results. Let’s get started!
Here are the basics of dog grooming:
Different Dog Coat Types and How to Groom Them
Dogs come with various coat types and each one needs its own grooming. Knowing your pup’s coat type and how to groom it is key for keeping good health and looks. Here are some of the most common coat types and their grooming tips:
- Short hair: A rubber brush or hand mitt used regularly is enough for maintenance.
- Long hair: Brushing daily and a trim every now and then keeps the coat from getting too long.
- Wire hair: Monthly grooming, including hand-stripping and trimming, helps maintain shape.
- Curly hair: Poodles need regular grooming every 4-6 weeks to prevent matting.
- Double coat: Huskies need frequent brushing and no shaving. This keeps their insulation intact.
Grooming not only makes your dog look great, but is essential for overall well-being.
Importance of Regular Grooming
Grooming your pup isn’t just for looks. It’s vital for their health and happiness too! Brushing and combing their fur gets rid of tangles and mats. Trimmed nails reduce pain and infections. Clean ears keep them healthy and brushing teeth prevents dental issues and bad breath.
Plus, regular grooming can uncover any hidden health issues. Make it part of your routine and use the right tools and techniques. If you need help, an experienced groomer can provide advice and tips.
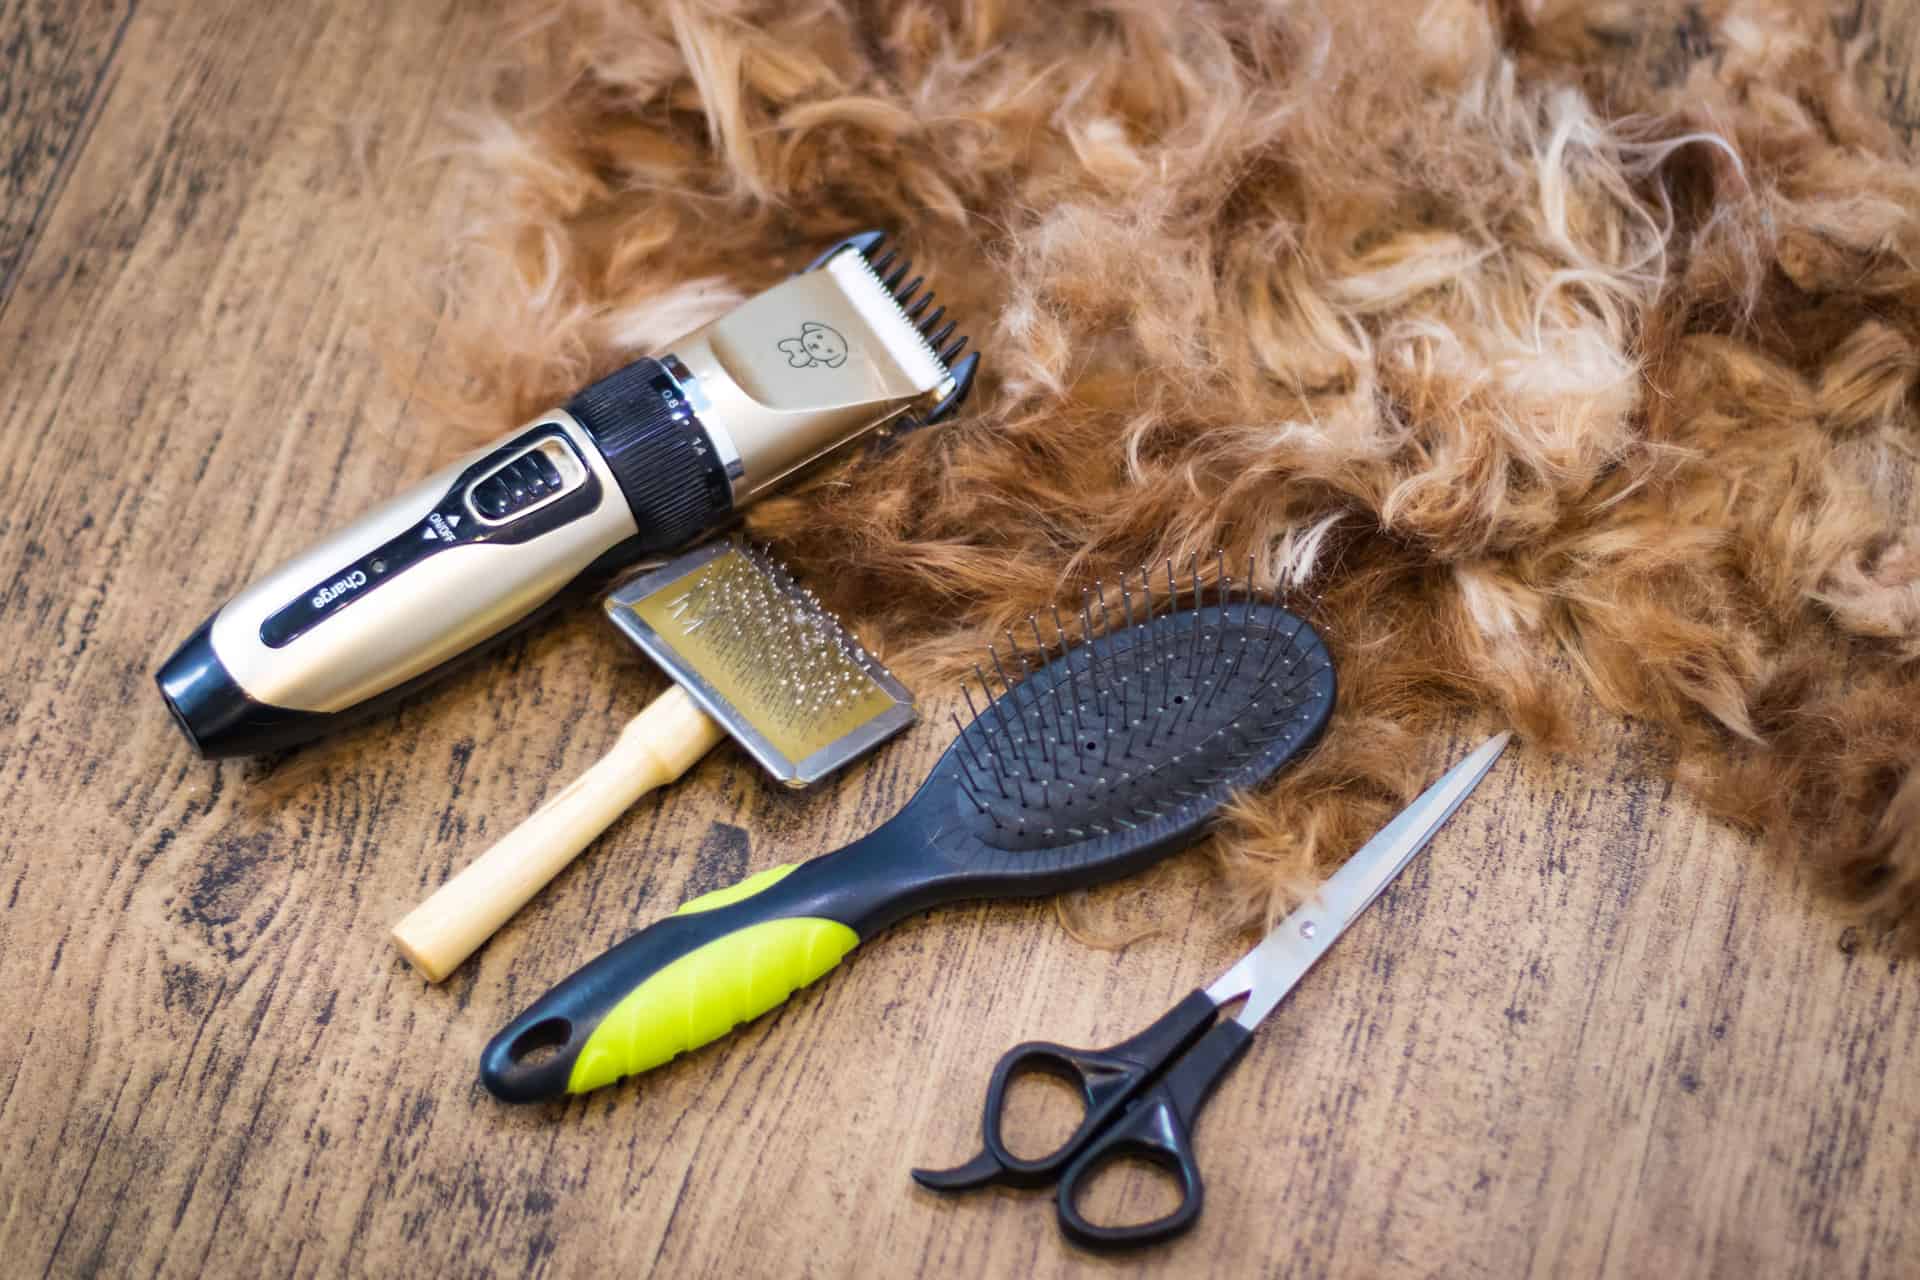
Essential Grooming Tools
Groom your pup to keep them healthy and happy! Make sure you have the essentials for grooming: a brush, comb, nail clippers, ear cleaner, shampoo and clippers. This will make the grooming experience less stressful for both of you.
Brush the fur to combat shedding and get rid of dirt, tangles and knots. Use a comb to untangle hair mats and spot tangles. Nail clipping is essential to avoid health issues. Clean the ears with a solution to prevent infection. Use a good quality shampoo for a clean coat and skin conditioning. Clippers help trim evenly without damaging skin.
Stock up on these items for smooth sessions!
Bathing and Drying Techniques
Bathing and drying is a must for doggy grooming! Knowing the right techniques can make it a great time for both you and your pup. This article will cover the best practices for bathing, drying, and brushing your pet. Plus, we’ll look into tools and products that make the process simpler and more fun.
Choosing the Right Shampoo for your Dog
Choosing the best shampoo for your pup is key for their skin and coat’s health. Here are some tips to consider when selecting the perfect shampoo:
- Figure out your dog’s skin and coat needs. Do they have sensitive skin, dry skin, or excessive shedding? Do you need to buy a special kind of shampoo like hypoallergenic or moisturizing?
- Check the ingredients label. Avoid any with harsh chemicals like sulfates, parabens, or artificial fragrances that might irritate your pup’s skin. Look for natural ingredients like oatmeal or aloe vera.
- Think about the scent. Pick one your dog can handle, as strong or unpleasant scents may cause discomfort or allergic reactions.
Pro tip: After shampooing, make sure to rinse and dry your pup’s coat completely. Wet fur can attract dirt and bacteria, making them more prone to infections.
Proper Bathing Techniques
Bathing your dog? It’s an art! Here’s how to do it right:
- Brush the fur first to get rid of any knots.
- Use lukewarm water and dog-specific shampoo.
- Gently wet your pup’s fur, avoiding their face and ears.
- Lather up the shampoo and massage it in.
- Rinse it all off.
- Squeeze out extra water and dry with a towel.
- Long-haired pups? Use a hair dryer on a low setting.
Follow those tips and you’ll master the art of grooming your pup to keep them healthy and clean!
Drying Techniques and Tips
Drying is a key step in dog grooming. It can make or break the look of your pooch! Here are some tricks and tips to help you succeed.
- Towel Dry: After the bath, dry your pup with a large towel. Rub and pat them down. Make sure to absorb as much water as you can, especially in areas with thick fur.
- Blow Dry: Use a hair dryer on a low heat and speed setting. Hold it 6-12 inches away from your pup’s skin. Move it around to make sure drying is even. Be careful not to overheat or cause discomfort.
- Air Dry: If your pup has short hair, air-drying could work. Put them in a well-ventilated spot and keep them away from drafts and cold.
Other Tips:
- Brush your pup’s fur before and after drying.
- Use detangling spray if needed.
- Keep your pup calm and relaxed.
- Give treats and praise for good behavior.
Nail Trimming and Paw Care
Nail trimming and paw care are essential for a pup’s grooming routine. It’s important to be gentle and go slowly. Plus, having the correct tools is a must. This guide will give you a thorough overview of nail trimming and paw care. It includes helpful tips, best practices, and more.
How to Trim your Dog’s Nails Safely
Trimming your pup’s claws is an important part of paw care and grooming. But, it can be a scary job. At the same time, with the correct gear and methods, it can be done quickly and safely. To trim your doggo’s nails smoothly, follow these steps:
- Pinpoint the quick: This is the pink part of the nail that has nerves and blood vessels. Don’t cut into it.
- Use the right gear: Use specific nail clippers, not scissors or guillotine clippers.
- Select the perfect timing: Trim your dog’s nails when they’re calm and relaxed to stop them from moving around and getting uncomfortable.
- Cut bit by bit: Cut off some at a time and apply styptic powder if you accidentally cut the quick.
- Reward your pup: Give treats and praise them during the process.
By understanding these techniques, you can achieve successful nail trimming and paw care that keeps your furry buddy healthy and happy.
Paw Pad Care
It’s vital to look after your pup’s paw pads! Here are tips for doin’ so:
- Nail Trimming: Don’t let the nails get too long. Cut ’em with a clipper, not touching the quick – that hurts and bleeds.
- Paw Inspection: Keep an eye out for cuts, scrapes, and weird objects like thorns. Look for redness or swelling too.
- Moisturizing: Rub a bit of petroleum jelly or paw balm onto the pads. Stop them from cracking or drying out.
- Winter Care: Put booties on to protect against frostbite and salt on roads.
Follow these tips and your pup will have paws that are healthy and happy. That way they can run and play to their heart’s content!
Tips for Dealing with Sensitive Paws
Grooming a pup with sensitive paws can be tricky. But, with the correct hints and tricks, you can keep your furry friend comfy during each session. Here are some tips to keep in mind:
- Take it slow and be gentle when trimming your dog’s nails. This way, you’ll avoid cutting too close and causing pain or bleeding.
- Get a high-quality nail trimmer specially made for dogs to get the best results.
- Soak your dog’s paws in warm water to calm and soften the skin before trimming or using any paw care products.
- Rub a gentle paw balm or moisturizer on to keep your dog’s paws happy and hydrated.
- Gently brush or comb any mats or tangles in your dog’s paw hair with a soft-bristled brush. Be careful not to tug or pull too hard.
- Finally, give your pup treats and praise throughout the grooming process. This’ll encourage good behavior and make it a more enjoyable experience for both of you!
Ear and Eye Cleaning
Ears and eyes must be properly cleaned for proper dog grooming. Too much wax builds up and can create bacteria and yeast, possibly leading to infections. Furthermore, eyes can become irritated or infected from environmental and other factors. Thus, it’s essential to clean and inspect them regularly. Read on to learn essential techniques for cleaning and inspecting your pup’s ears and eyes!
Understanding the Importance of Regular Cleaning
Cleaning a dog’s ears and eyes regularly is crucial to make sure they stay healthy, comfy and hygienic. Poor cleaning of these areas can lead to infections, be uncomfortable and cause serious health issues.
Ears should be cleaned using a mild cleanser and cotton balls to clean the outside of the ear canal and take out any dirt, wax or debris that has built up. Dogs with floppy ears should have their ears cleaned weekly or after being in wet environments.
Eye cleaning involves a damp, clean cloth to remove any mucus, discharge or debris around the eyes. This is especially important for dogs with long eyes like pugs, as they’re more likely to get eye irritation and infections.
Regularly cleaning a dog’s ears and eyes is a simple way to stop discomfort and infections and make sure your pet stays healthy and content.
Proper Techniques for Cleaning your Dog’s Ears
Clean your pup’s ears regularly! It’s vital for their health and happiness. Here’s how:
- Gather the supplies you’ll need: ear cleaning solution, cotton balls, gauze, and treats.
- Hold your pup’s head and pour a small amount of solution in the ear canal. Gently massage the base of their ear for 20-30 seconds.
- Use the cotton ball or gauze to wipe away any visible gunk. Take care not to push it further in.
- Repeat on the other ear.
Always be careful when cleaning your pup’s ears, as inserting anything into their ear canal can cause injury. With consistent proper cleaning, you can help keep ear infections away!
Safely Cleaning your Dog’s Eyes
Cleaning your pup’s peepers is important for their grooming. Doing it right is key to their comfort and eye health. Here’s how:
- Check their eyes for signs of infection like redness, discharge, or swelling. If you spot any of these, get your vet’s advice before cleaning.
- Use a clean and damp cloth or cotton ball to take away any gunk around their eyes.
- For the corners, dip a clean cotton ball in warm water. Wipe from the inside corner to the outside corner of each eye.
- Don’t use harsh or scented products. They can cause irritation and harm.
Remember to clean their eyes regularly to avoid gunk build-up and reduce risk of infection or inflammation.
Dealing with Shedding
Shedding is a common problem for doggo owners. It can be aggravating and make for a messy house. So, how to deal with it? Grooming techniques! Utilizing the appropriate techniques will help you keep your pup’s coat in top condition and lower shedding. Here are the grooming techniques that can aid in managing shedding:
Understanding the Shedding Cycle
Grasping your pup’s shedding cycle can help you manage it better and keep your house dust-and-hair-free. Here’s a rundown:
- Anagen: This is the hair follicle’s growth stage. In this time, the hair stays firmly attached to the skin and keeps on growing.
- Catagen: This is a quick transition phase where the hair follicle gets smaller and separates from the skin.
- Telogen: This is the resting phase where the old hair falls out and the fresh hair starts to come in.
- Exogen: This is the shedding stage where the old hair is pushed out by the new hair that’s growing.
To reduce shedding, regular brushing and grooming can help remove loose hair before it falls out, keeping your pup and your home cleaner. Tip: A de-shedding tool can make grooming more effective by taking out any loose hair from the undercoat.
Tools for Reducing Shedding
Shedding can be quite the challenge for pet owners. Luckily, there are tools that can help you manage it better! Here are the top tools for reducing shedding:
- Deshedding tool: This helps remove fur from the undercoat without damaging the topcoat.
- Slicker brush: It combs out tangles and mats, plus helps spread natural oils throughout the coat to keep it healthy.
- Rubber curry brush: This removes loose hair and dirt while giving your pup a nice massage.
- Grooming gloves: These gloves grab dead hair, dirt, and dust with a nice massage.
By using these tools, you can reduce shedding and keep your pup’s coat looking great.
Pro-tip: Remember to use the right tool for your pup’s coat type and brush regularly to prevent mats and tangles.
Tips for Handling Excessive Shedding
Excessive shedding in dogs is a common problem for pet owners. Here’s how to manage it:
- Brushing: Regular brushing can help remove extra hair and decrease shedding. Use a slicker brush or de-shedding tool to get deep in the fur and remove tangles and mats.
- Bathing: A bath every 4-6 weeks can reduce shedding too. Use a mild dog shampoo and conditioner to keep the skin healthy and avoid over-drying.
- Diet: Good nutrition with essential nutrients can help reduce shedding and have a healthy coat. Ask your vet for dietary suggestions.
- Laundry: Clean your dog’s bedding, toys, and other items often to remove hair and stay clean.
Pro tip: Make brushing easier with a detangling spray or conditioner to soften knots and mats. Use a leave-in conditioner to keep the coat healthy and shiny.
Styling and Finishing Techniques
Grooming isn’t only about brushing and bathing your pup. It’s also about styling and getting that polished look. Your pet groomer may do some finishing touches after the brushing and bathing. These include trimming the fur, feathering, and styling the face.
Let’s have a look at some popular styling and finishing techniques used by pet groomers. Learn how to use them to get the perfect finished look for your pooch!
Different Grooming Styles for Dogs
Grooming your pup is key to keeping them healthy and content. Recognizing the various grooming styles for dogs can make the process easier for you and help you find the ideal style that fits your pup’s character and lifestyle. Here are some popular canine grooming styles:
- Puppy cut: A simple, convenient style for all breeds, this involves trimming the fur to an identical length across the body.
- Teddy bear cut: This style keeps the fur on the head and legs long, giving your pup an adorable teddy bear look.
- Lion cut: This style shaves the fur from the body and leaves a full mane around the dog’s head and neck.
- Show cut: This style needs more grooming experience and time to form precise patterns that follow the breed’s standards.
- Sporting cut: Perfect for active dogs, this style clips the fur short to keep them cool and comfy.
Pro Tip – Talk to an expert groomer to determine what grooming style is right for your pooch’s breed and personality.
Finishing Touches
After your pup’s bath and styling, it’s time for the finishing touches. Here are some tips for a perfect look!
- Brushing: Remove tangles, mats, and loose hair with regular brushing. Keep their coat shiny and healthy.
- Clipping and Trimming: Depending on the breed and hair, clipping and trimming may be needed. Use sharp clippers to avoid hurting them.
- Nail Trimming: Trim for their health and comfort. Use sharp, appropriate-sized clippers.
- Finishing Spray: Shine up their coat with a safe spray. Apply sparingly.
With these techniques, you can give your pup a professional-looking grooming job at home. Be patient and reward them for being good!
Tricks for Tackling Difficult Spots
As a dog groomer, you may come across tough spots on your furry friends that need extra care. Here are some tips to tackle these tricky spots while styling and finishing:
- Use thinning shears to mix thick or matted fur around sensitive areas, like ears, paws, or sanitary regions.
- Before using a comb, use a slicker brush for tangles and mats in the undercoat.
- Use a de-shedding tool to take out extra fur on double-coated breeds, like huskies or malamutes.
- Use clippers with guard attachment to cautiously trim fur around the face or paw pads.
By following these tricks and techniques, you can be an ace at dog grooming and make sure your furry clients look and feel their best!
Frequently Asked Questions
1. What are some essential tools for dog grooming?
Some essential tools include a brush, comb, nail clippers, shampoo, conditioner, and grooming scissors.
2. How often should I groom my dog?
It depends on the breed and hair length, but in general, dogs should be groomed every 4-6 weeks.
3. Can I groom my dog at home?
Yes, you can groom your dog at home as long as you have the proper tools and techniques. However, some breeds may require professional grooming.
4. How can I prevent my dog from getting anxious during grooming?
Start grooming your dog at a young age and introduce them slowly to the grooming process. Use positive reinforcement and treats to reward good behavior. If your dog still gets anxious, consider seeking the help of a professional trainer or groomer.
5. How do I properly trim my dog’s nails?
It’s important to only trim the tips of the nails and avoid cutting into the quick, which can cause bleeding and pain. You can use nail clippers or a rotary tool, and if you’re unsure, ask a professional groomer or veterinarian for guidance.
6. What should I do if I accidentally cut my dog’s nails too short?
If you accidentally cut your dog’s nails too short and they start bleeding, apply pressure with a clean cloth or styptic powder to stop the bleeding. If the bleeding doesn’t stop, seek veterinary care.